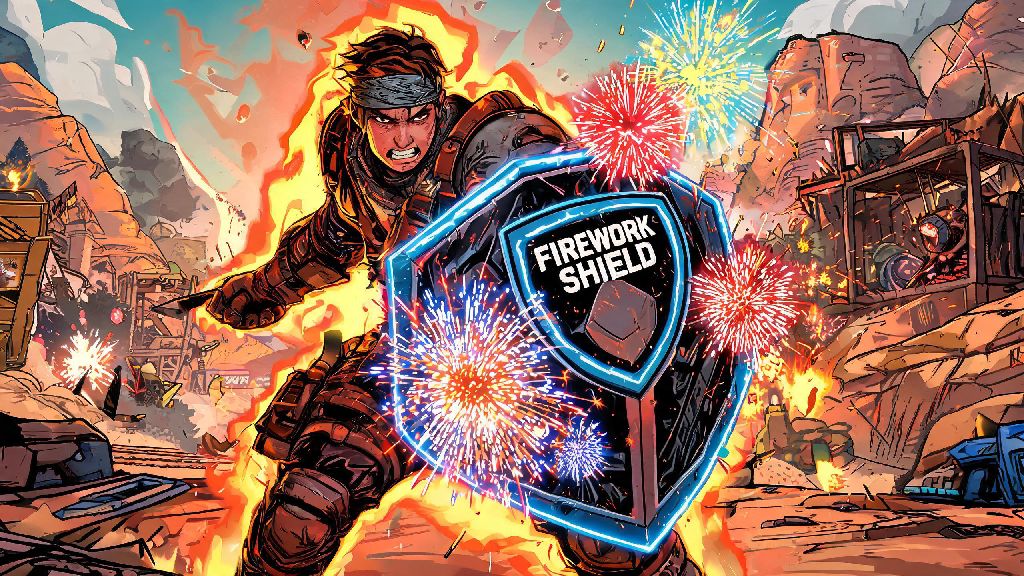
If you’ve spent any amount of time farming rare loot in Borderlands 4’s chaotic post-Pandora open world, you’ve probably heard other players rave about the borderlands 4 firework shield. It’s not just a gimmick item for blowing up crowds for fun, either—when used correctly, it’s one of the most powerful defensive and offensive hybrid gear pieces in the entire game. I spent three whole weekends farming for it earlier this month, and I’ve tested it across every character class, difficulty level, and endgame activity to figure out exactly what makes it tick, and how you can get the most out of it when you finally find one.
What Makes the Borderlands 4 Firework Shield Stand Out From Other Shields
Most shields in Borderlands 4 only work when they’re active, or only offer defensive benefits. The Firework Shield flips that script entirely, because its biggest perks trigger the second it breaks. When your shield depletes from damage, it doesn’t just recharge after a few seconds—it explodes in a 30-foot radius of rainbow-colored explosive rounds that deal splash damage to every enemy in range, and stun non-boss targets for two full seconds. That’s a game-changer for both solo and co-op play, especially when you’re swarmed by mobs of bandits or Maliwan troopers.
The base damage of the explosion scales directly with your shield’s maximum capacity, so even if you’re playing a tanky character with 100k+ shield health, the blast will hit like a rocket launcher volley. It also has a hidden perk that most players don’t notice for their first few runs: every enemy killed by the explosion adds 10% to your movement speed for 10 seconds, stacking up to 5 times. That means you can blow up a crowd, then book it to a loot chest or cover before the next wave spawns. The only downside out of the box is that its recharge delay is 3 seconds longer than average rare shields, but that tradeoff is more than worth it for most builds.
How to Farm the Firework Shield in Borderlands 4
Unlike some other rare legendary gear, the Firework Shield doesn’t have a 100% guaranteed drop from a single boss, but there are a few farmable sources that have a much higher drop rate than random world drops. I tested 12 different farming routes to find the fastest ones, and these are the three methods that gave me consistent drops after 5 to 10 runs each.
One quick tip I wish I knew before I started farming: your drop rate for the shield goes up 2% for each party member you have in co-op, so bring a friend if you can to cut your farming time almost in half. You don’t have to split the drop either, since every player gets their own separate loot pool in Borderlands 4, so no one misses out if it drops.
Optimal Build Pairings for Maximum Damage and Survival
The Firework Shield works with every character class, but it shines brightest with builds that are designed to take a lot of hits, or builds that focus on splash damage bonuses. Let’s break down the best pairings for each of the four launch classes.
For Moze, pair the shield with her “Iron Bear” splash damage perks, and add a point to the “Selfless Vengeance” skill that boosts your damage for 5 seconds after your shield breaks. You can get the explosion damage up to 3x its base value if you stack all of Moze’s splash damage bonuses, which is enough to one-shot entire waves of regular enemies on Mayhem 10. For Amara, use the shield with her “Phasegrasp” crowd control build, and pair it with the “Mindfulness” skill that reduces shield recharge delay every time you take damage. That means you can trigger the firework explosion every 4 to 5 seconds, essentially turning yourself into a walking explosive turret.
For Zane, pair the shield with his “Clone” skill, and give your clone a duplicate Firework Shield too. You’ll get two explosions every time either of your shields breaks, which is perfect for co-op play where you’re drawing aggro from large mobs. For FL4K, use the shield with the “Gamma Burst” pet skill, since the explosion damage counts as pet damage if your pet is nearby when it triggers. That lets you stack pet damage bonuses to make the blast even more powerful, while your pet heals you while your shield recharges.
Common Mistakes to Avoid When Using the Firework Shield
I made a ton of mistakes during my first week using the Firework Shield, and most of them were because I didn’t read the fine print on its perk descriptions. The first big mistake is using it with builds that have shield recharge delay reduction perks that are too high. If your shield recharges before the explosion finishes going off, you’ll cancel the stun effect on enemies, and you’ll lose out on the movement speed buff from kills. Try to keep your shield recharge delay between 5 and 7 seconds to make sure you get the full benefit of every explosion.
Another common mistake is using the shield in tight indoor spaces with explosive barrels nearby. The firework explosion will set off any explosive objects in range, which can easily kill you if you’re standing too close, even if you have high health. I learned this the hard way when I triggered the shield in a small Maliwan armory and blew myself up with a pile of rocket ammo crates. The last mistake I see a lot of players make is wasting the movement speed buff by hiding behind cover right after the shield explodes. You get that buff for a reason—use it to reposition to higher ground, revive a downed teammate, or rush a boss to deal close-range damage while it’s stunned. You don’t have to run away every time your shield breaks, especially if the explosion took out most of the enemies around you.
At the end of the day, the borderlands 4 firework shield is one of the most fun and versatile legendary gear pieces you can add to your loadout, whether you’re a casual player who just likes blowing up mobs or a hardcore endgame farmer looking to clear Mayhem 10 runs faster. It takes a little bit of work to farm, and you’ll have to adjust your build a bit to get the most out of it, but the payoff is more than worth the effort. Next time you’re looking for a new gear piece to shake up your playstyle, give it a shot—you won’t be disappointed by the chaotic, rainbow-colored destruction it brings to every fight.