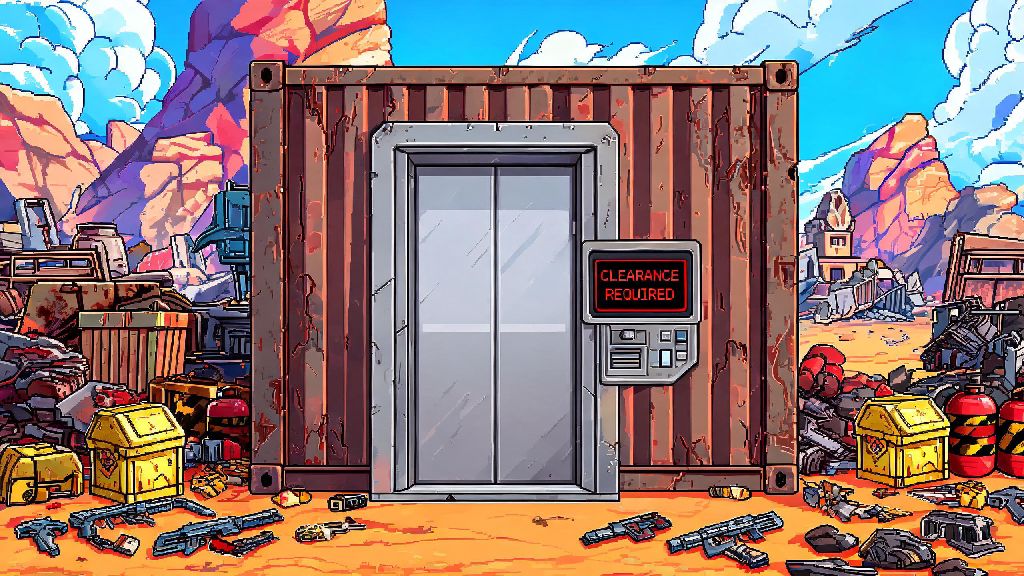
Anyone who’s spent even a few hours roaming Borderlands 4’s chaotic, loot-strewn zones has probably run into this annoying roadblock: you round a corner, spot a sleek, unmarked elevator tucked between two rusted shipping containers, hit the call button, and get a bright red “clearance required” error that won’t go away no matter how many times you mash the input. You might’ve written it off as endgame content you can’t access yet, or a cut feature the devs left in by mistake. But that’s not the case at all. If you want to get clearance for elevator in Borderlands 4, you just need to follow a short, unmarked quest chain most players fly right past on their first playthrough.
What the Elevator Clearance Unlocks in Borderlands 4
You might be wondering if it’s even worth taking the time to track down clearance for these random elevators, especially when there are main story missions and bounties calling your name. I asked the same question on my first run, skipped the process entirely, and regretted it for 15 whole levels once I found out what I was missing. These elevators don’t just lead to empty rooms or throwaway lore notes. Hidden Vault fragment collectibles that count toward a secret endgame reward are locked behind most of these elevators, for starters. You also get exclusive skin packs for your Vault Hunter that aren’t available in the in-game store or as pre-order bonuses. Best of all, many of these elevators lead to fast travel points that cut travel time across large zones by 70%, so you don’t have to hike 10 minutes across a map full of aggressive skags every time you want to turn in a side quest.
Some elevators also lead to exclusive side quests that don’t pop up on your main map, with unique rewards you can’t get anywhere else. I found one quest last run that gave me a permanent 5% boost to loot quality for the rest of my playthrough, which made grinding for legendaries far less frustrating. Even if you only care about rushing the main story, unlocking these fast travel points alone will save you hours of wasted travel time.
Step-by-Step Process to Get Clearance for Elevator in Borderlands 4
The best part of this process is that it works for every locked elevator across the entire map. No need to complete different quests for different zones; the core steps are identical every time, even if the locations of the items you need change slightly per zone. You don't have to complete the main story mission for the zone first to unlock this quest, either. You can complete this process as early as level 12, right after you finish the first two intro missions and gain access to the open world.
If you can’t find one of the Goliaths, check the small cave systems or abandoned building around the zone. They usually spawn in off-the-beaten-path areas that most players don’t explore unless they’re hunting for hidden loot. You don’t have to kill them in any specific order, as long as you collect all three fobs before heading back to the terminal.
Common Mistakes That Block Elevator Clearance
Even though the process is straightforward, plenty of players run into snags that leave them thinking the elevator is bugged, or that they missed a requirement they can’t go back and complete. If you’ve tried to get clearance for elevator in Borderlands 4 before and failed, chances are you made one of these simple, easy-to-fix mistakes. The most common issue is forgetting to pick up the key fobs after killing the named Goliaths. The fobs drop as common white items, so they’re easy to miss if you’re focused on grabbing the rare loot the Goliath drops. If you kill one and don’t see a fob, check the ground around the body; it’s almost always tucked behind a rock or piece of trash nearby.
If you're playing co-op, make sure all players in your party pick up the notice first before you start hunting for fobs. If the host doesn’t trigger the quest, the fobs won’t spawn for anyone in the lobby, even if individual players found the notice on their own. If you insert the fobs in the wrong order, you’ll have to wait 60 seconds before you can try again, so double check the order before you slot them in to save time. If you accidentally sell or drop a key fob, just head back to the Goliath’s spawn point; they’ll respawn after 2 minutes, no penalty required.
Best Loot to Farm From Elevator-Exclusive Areas
Once you get access to the elevator’s hidden floors, you’ll want to know which areas are worth coming back to farm for loot, especially if you’re grinding for better gear before a tough main story boss. The first floor of almost every elevator is a dedicated mob farming area, with 2x the normal spawn rate of enemies and 3x the Eridium drop rate, so it’s a great spot to stock up on currency for weapon upgrades. You can clear the floor in 5 minutes flat, and you’ll usually walk away with enough Eridium to upgrade two or three weapon slots each run.
The second floor usually has a secret named boss, the most popular of which is Janitor Jim, a giant irradiated Tink who spawns with a mop as his main weapon. He drops the "Mop Up" shotgun, one of the best early-game legendaries for all Vault Hunter classes, with 30% extra damage against armored enemies and a 20% chance to heal you for 10% of your max health every time you land a shot. I used this shotgun for 20 levels on my last Siren run, and it made almost every boss fight feel trivial.
The third floor, on elevators that have one, almost always has a hidden cache of rare items, including golden keys, unique class mods, and even permanent stat boosts for your character if you’re lucky enough to find them. You don’t have to clear every floor in one run, either; once you unlock the elevator, you can come back to it any time during your playthrough.
It’s easy to brush off locked elevators as useless filler content when you’re rushing through the main story, but taking 10 minutes to get clearance for elevator in Borderlands 4 is one of the most rewarding small side activities in the entire game. You get better gear, faster travel, and access to secret content that most players will never even know exists, all for a tiny time investment. If you’re stuck on any step, just retrace your path to make sure you grabbed all three key fobs and didn’t mix up the order when you inserted them. You’ll be exploring those hidden floors and farming top-tier loot before you know it.